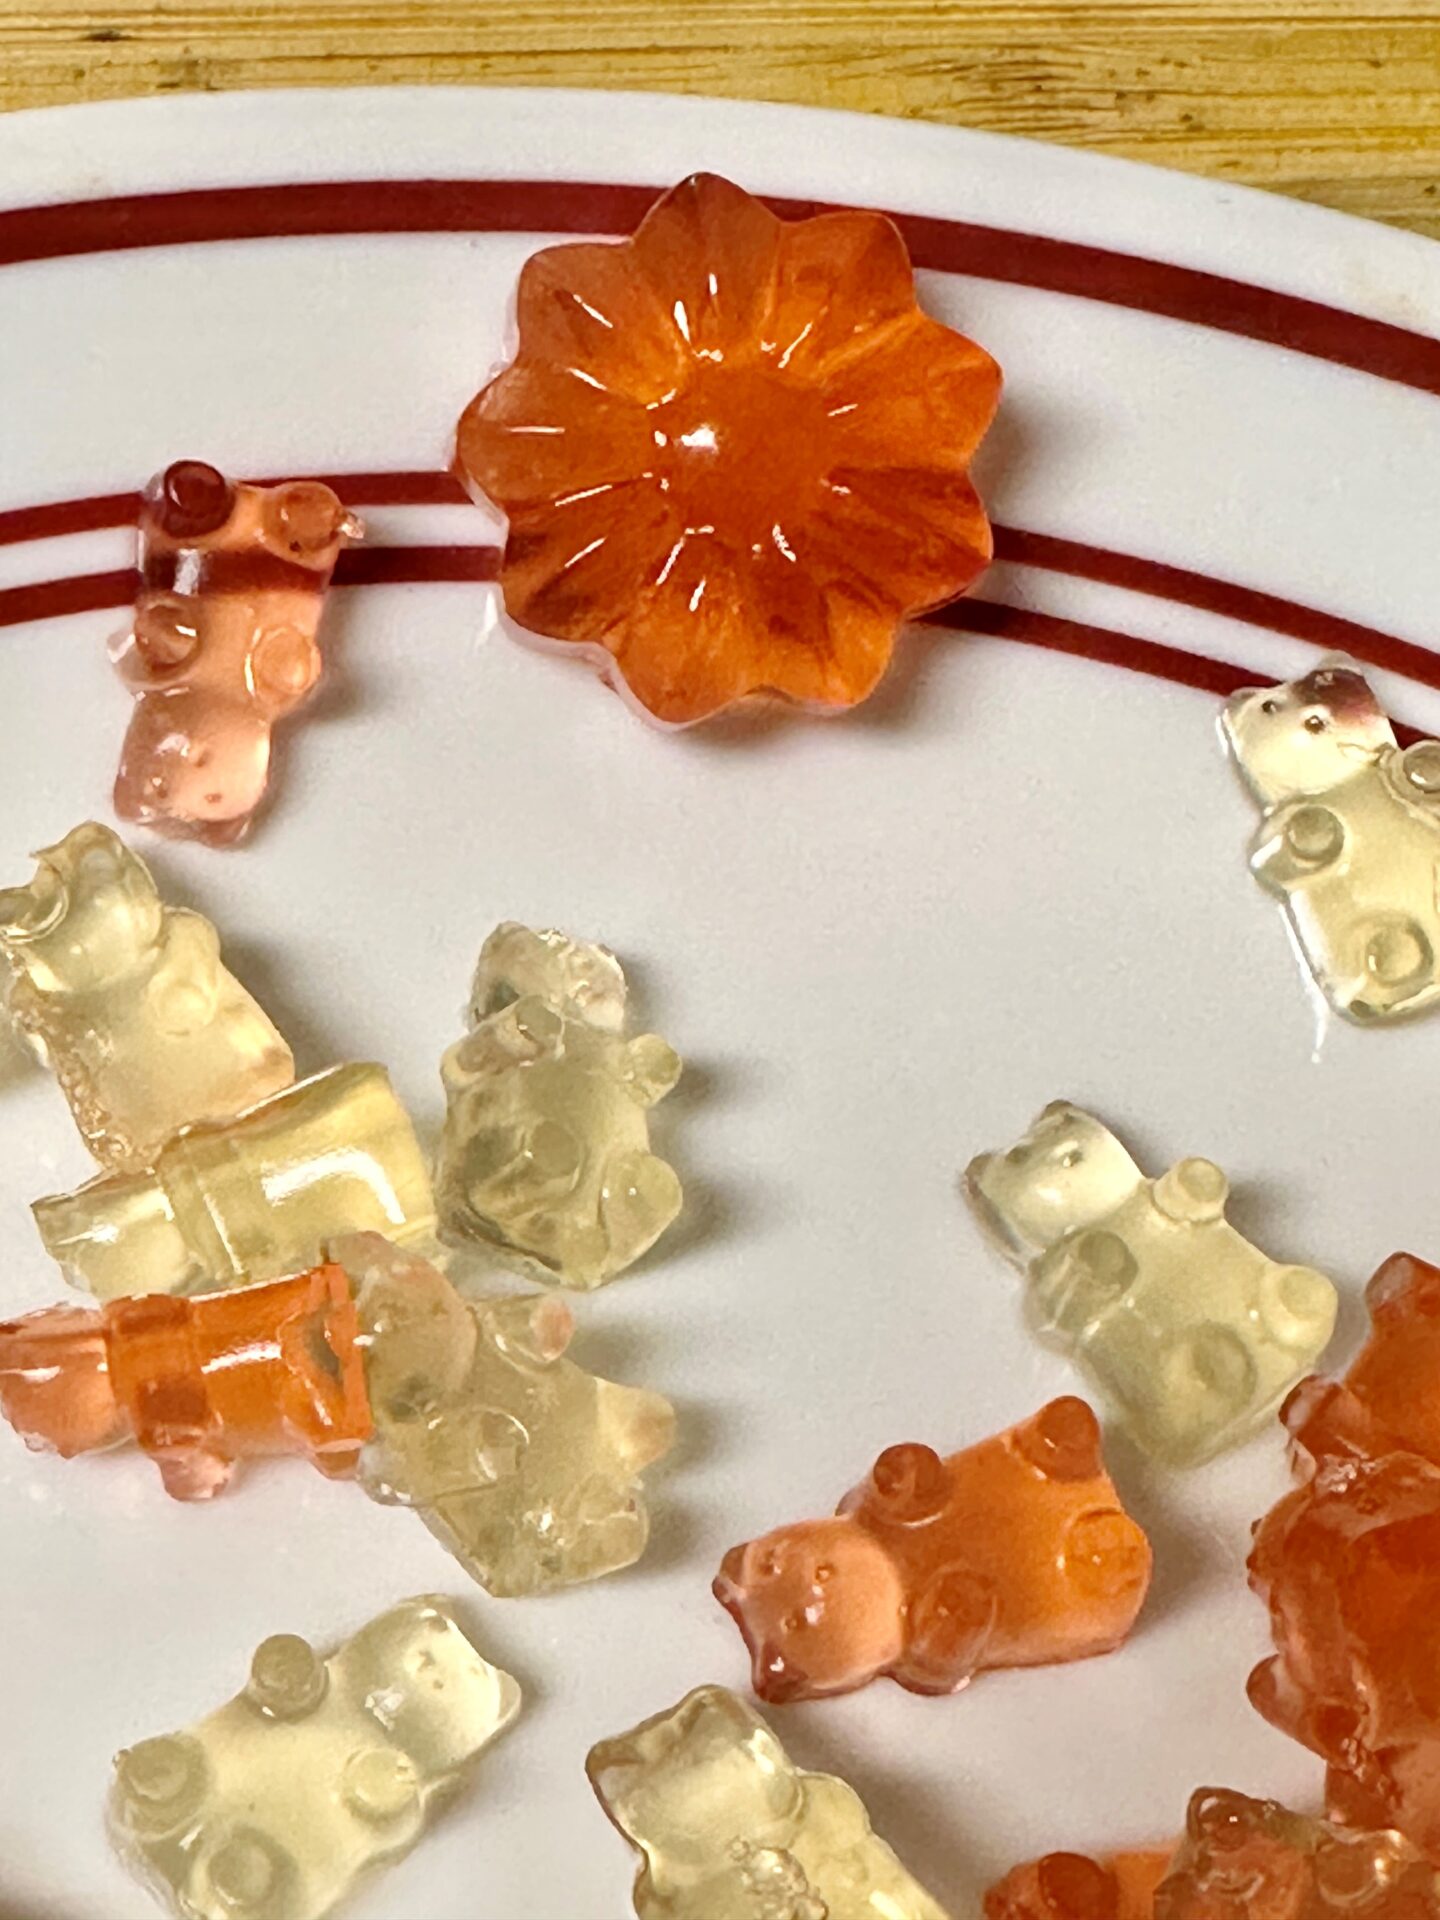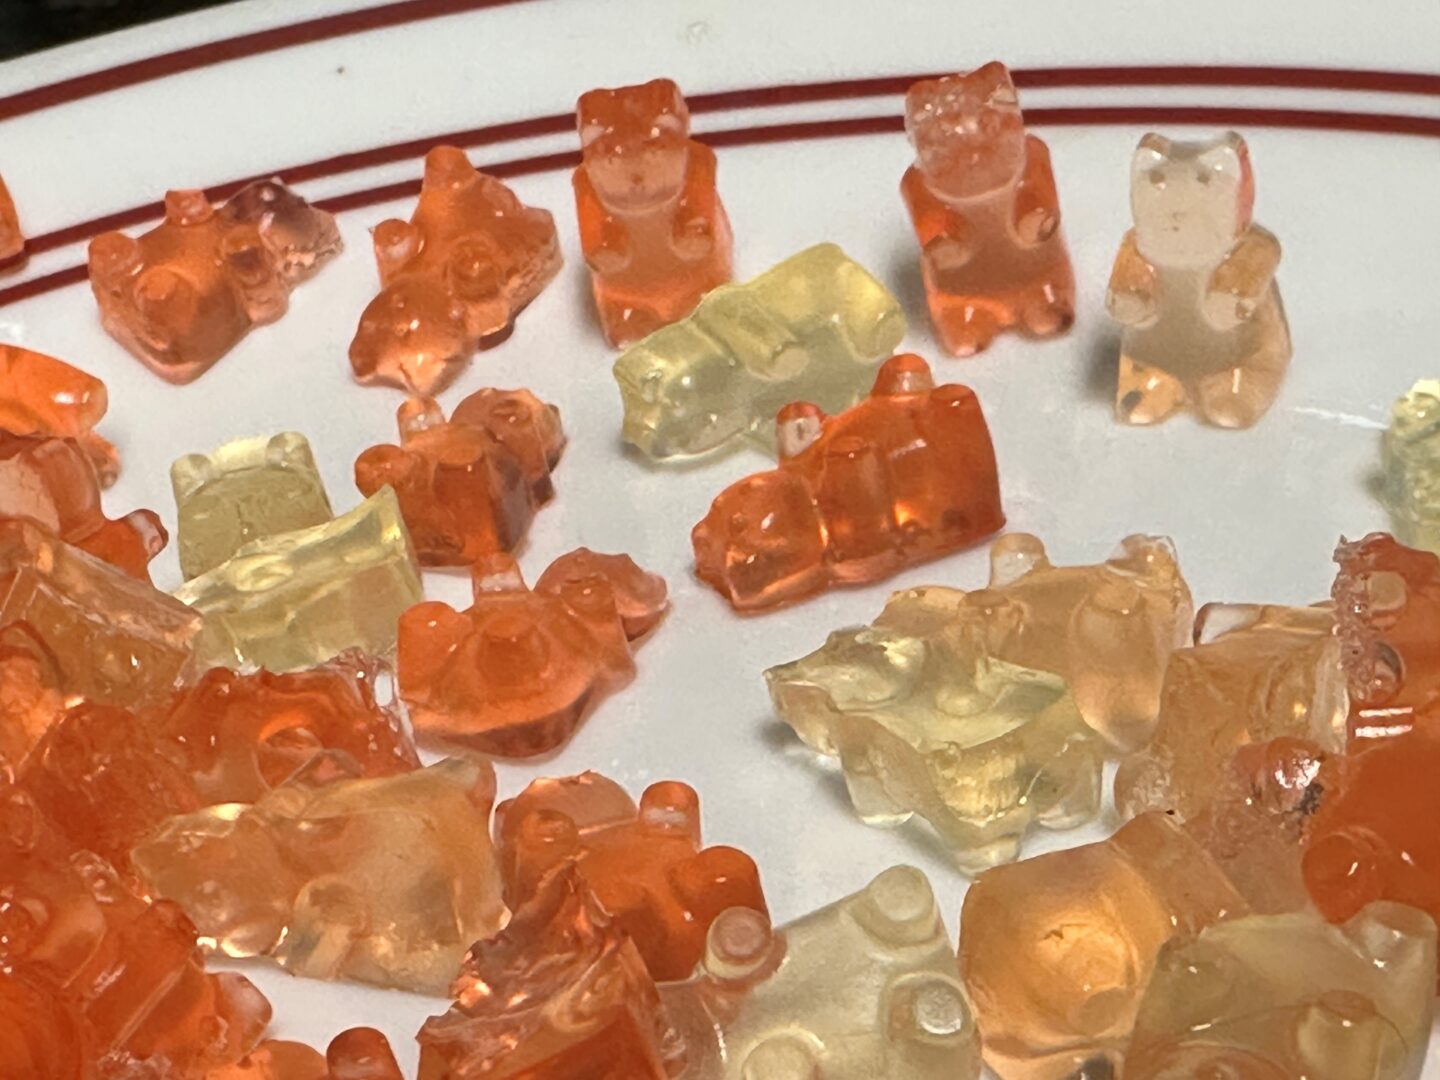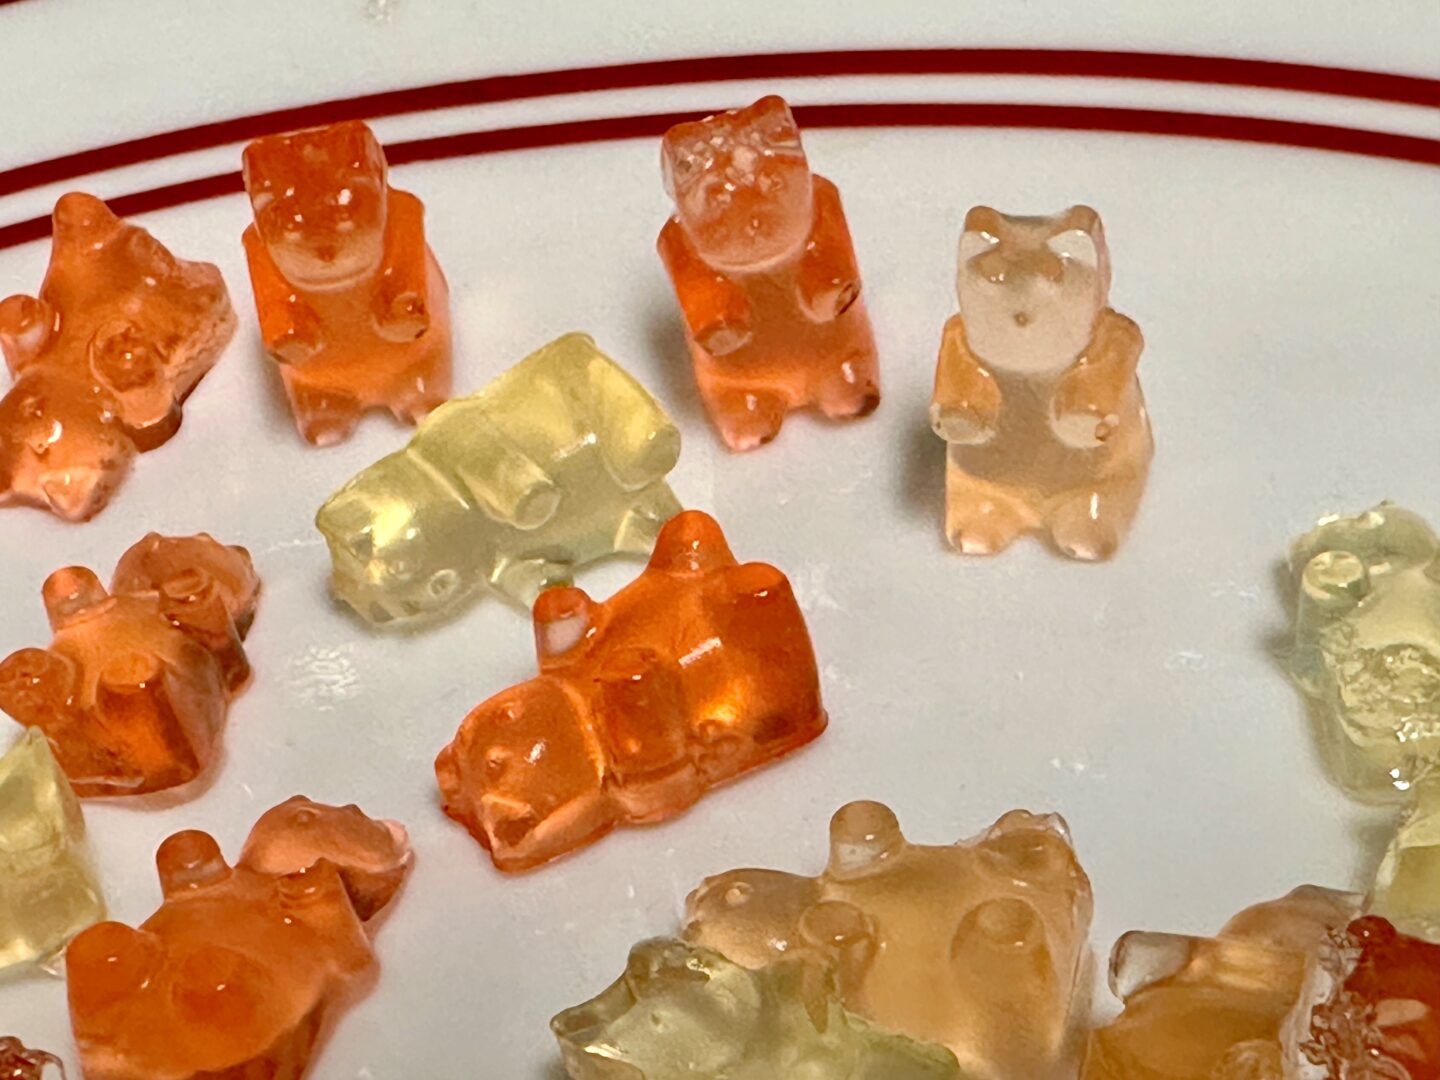
Do you like gummy bears? Looking for a fun idea for a play date? How about a yummy 3-ingredient all natural organic gummy bear?
Did the gummy bear song start playing in your mind as you read the title? I just can’t seem to shake it off my mind either. Much as my kiddo and I love that song, my next question to you is: Have you tried making one (I mean gummy bear 😉 ) ?
There’s something so catchy about gummy bears: the song as well as its cute and edible chewy namesake. We can never have enough of them in our household.
When my son started kindergarten, his best friend came over for their first playdate. Naturally, the ‘project’ that got all hands on board was making gummy bears.
If you knew me better, you would have known that I am a big fan of all things organic and natural. And our gummy bears were going to be no different!
Which meant there were not going to be any artificial dyes, colors or preservatives. It would be as healthy as you can get it. Just pure, simple, healthy ingredients, as close to the source as possible (speaking of ‘source’, say what, doesn’t that lend a spiritual flair to the gummy bear: here we go again with our rhyming lol). Plus an easy recipe: it was literally child’s play (pun intended).
Ingredients:
- 1/2 cup fruit juice of your choice
- 1.5 Tbsp all natural gelatin
- Sweetener: 1.5 Tbsp sugar/ maple syrup/ honey
That’s all! Just 3 simple ingredients. And a mold: you can find a fun mold like the one we used here.
A few tips:
Fruit juice: The key is to pick the color and flavor you like. The clearer the juice is, the better the gummies turn out. So apple juice, lime juice, lemonade all make great starting points. We went bolder and used orange juice as well, besides lemonade.
If you can juice on your own, that is the simplest way to go. We were in a pinch for time (you know how play dates can be ;)) so we used pre-made juice. Yet, we wanted it to be as unprocessed as possible, so used the “simply orange” and “simply lemonade” brands.
Gelatin:
Since gelatin is of animal origin, I wanted to use organic grass fed gelatin. So after much research I found Great Lakes organic gelatin, and it has been my go to since then. You would want to use the gelatin itself (red-orange bottle), and make sure it’s not the collagen hydrolysate from the same brand (green bottle) which may not help the gummies set well like the gelatin.
By the way, did you know about the health benefits of gelatin? To read about my journey with gelatin and the hidden surprise, click here.
Jello (the famous commercial cousin), came with a list of additional processing agents, hence it did not get a hello from us for this recipe.
For vegan options, you could try guar gum instead of gelatin.
Method:
- Set a sauce pan on medium heat and complete steps 2 and 3 over the next two minutes:
- Pour the juice in, stirring gently with a fork or whisk
- Add the sweetener, continuing to stir (the two minute should be over by now)
- Add gelatin in very small batches while whisking fast (almost in a frenzy) for about one minute till all of it has dissolved very well
- From now it’s literally a race to the finish line: using the dropper that comes with the mold/ medicine dropper/ medicine syringe for best results, fill up the mold as soon as possible before the mixture starts to set
- Chill in the freezer for about 15 to 20 minutes or till it sets.
Now the fun part: popping them out of the molds and savoring them. I wouldn’t be surprised if you beat your kids to this. My inner child was on a roll for sure.
Caution: An adult may want to supervise and handle the activity on the stove. Once the mixture is ready, little ones may enjoy filling up the molds themselves.
Update 07/23/2023: We recreated this summer fun activity today.


We used maple syrup and lemonade today – made for a very sweet treat. Also turned out easier than stirring in sugar till it melted.
In today’s batch, half were clear gummy bears and half were red ones. For the red ones, we mixed one filler-ful of vegan organic B12 for color (and energy) to half of the lemonade solution. By the way, if you have low energy levels, click here to find out why.
With the left over mixture, we filled a few flower molds (please see the image at the top of the page).
To watch a video my son recorded of himself in action, filling in the molds, please click here.
Hope you enjoyed learning the secret to this easy, fun and healthy delight. Would love to hear your experiences: please share in the comments below.

Nice job I’m going to continue reading and try this recipe. Thanks for sharing!
Author
You are welcome! Glad you liked it: hope you have fun making it!